
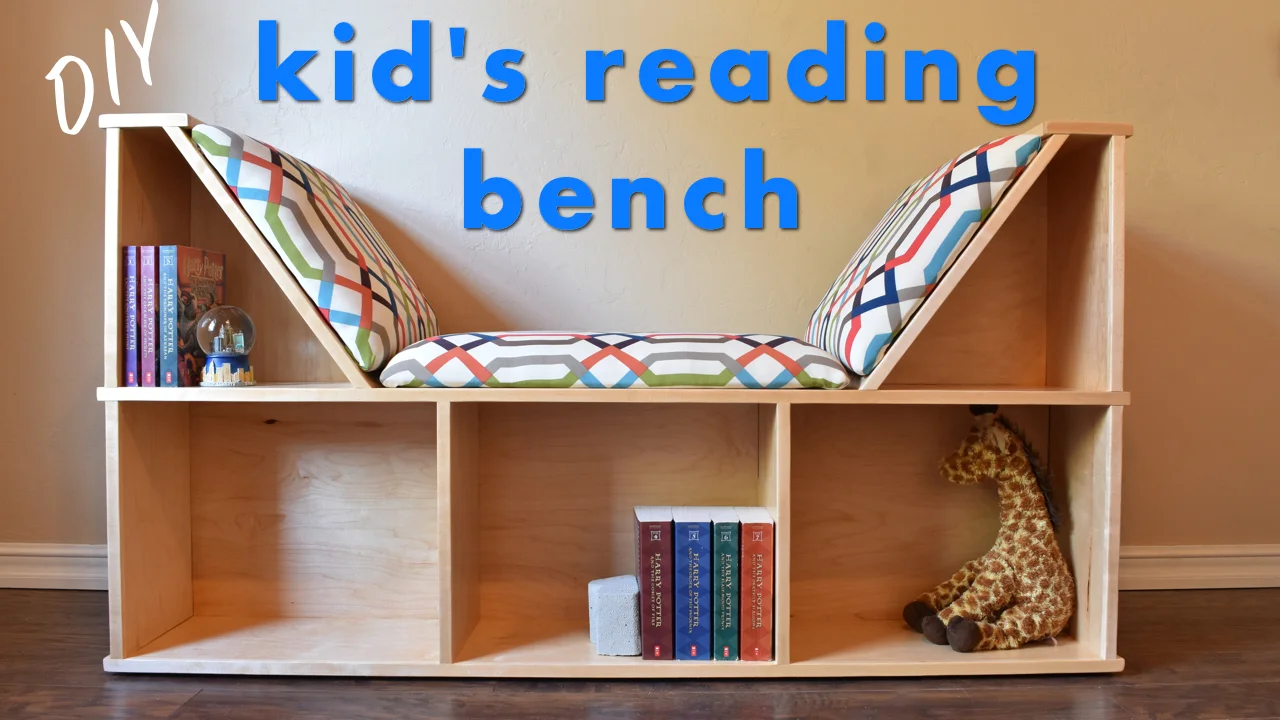
DIY Reading Nook / Bench
/I built this reading nook for daughter. This is the first piece that I designed from start to finish and built.

I used two 4x8 sheets of 3/4" maple PureBond plywood for this project.

The cut list.

I used my Kreg rip jig to break down the plywood panels into 18" boards.

I set my blade to 37 degrees and cut the angled seat back panels.

Assemble the two seat backs using a 14" panel, a 4" top piece, and the angled panel. I glued and brad nailed them first, but they'll get a center support later.

I used the foam I ordered to figure out my final deminsions for the bottom of the seat, and the overall width.

I cut dados halfway through the bottom center support. These will receive two dividers to create a book cubby, and to provide structural support.

I used a chisel to square off the dado cut.

I drilled pocket holes all along the back side of the center support, the dividers, the end pieces, and the backside of the uprights. All of the pocket holes will be covered up and hidden by the backer board.

I cut and attached center supports for the seat back uprights. I used three spacer blocks to position these.

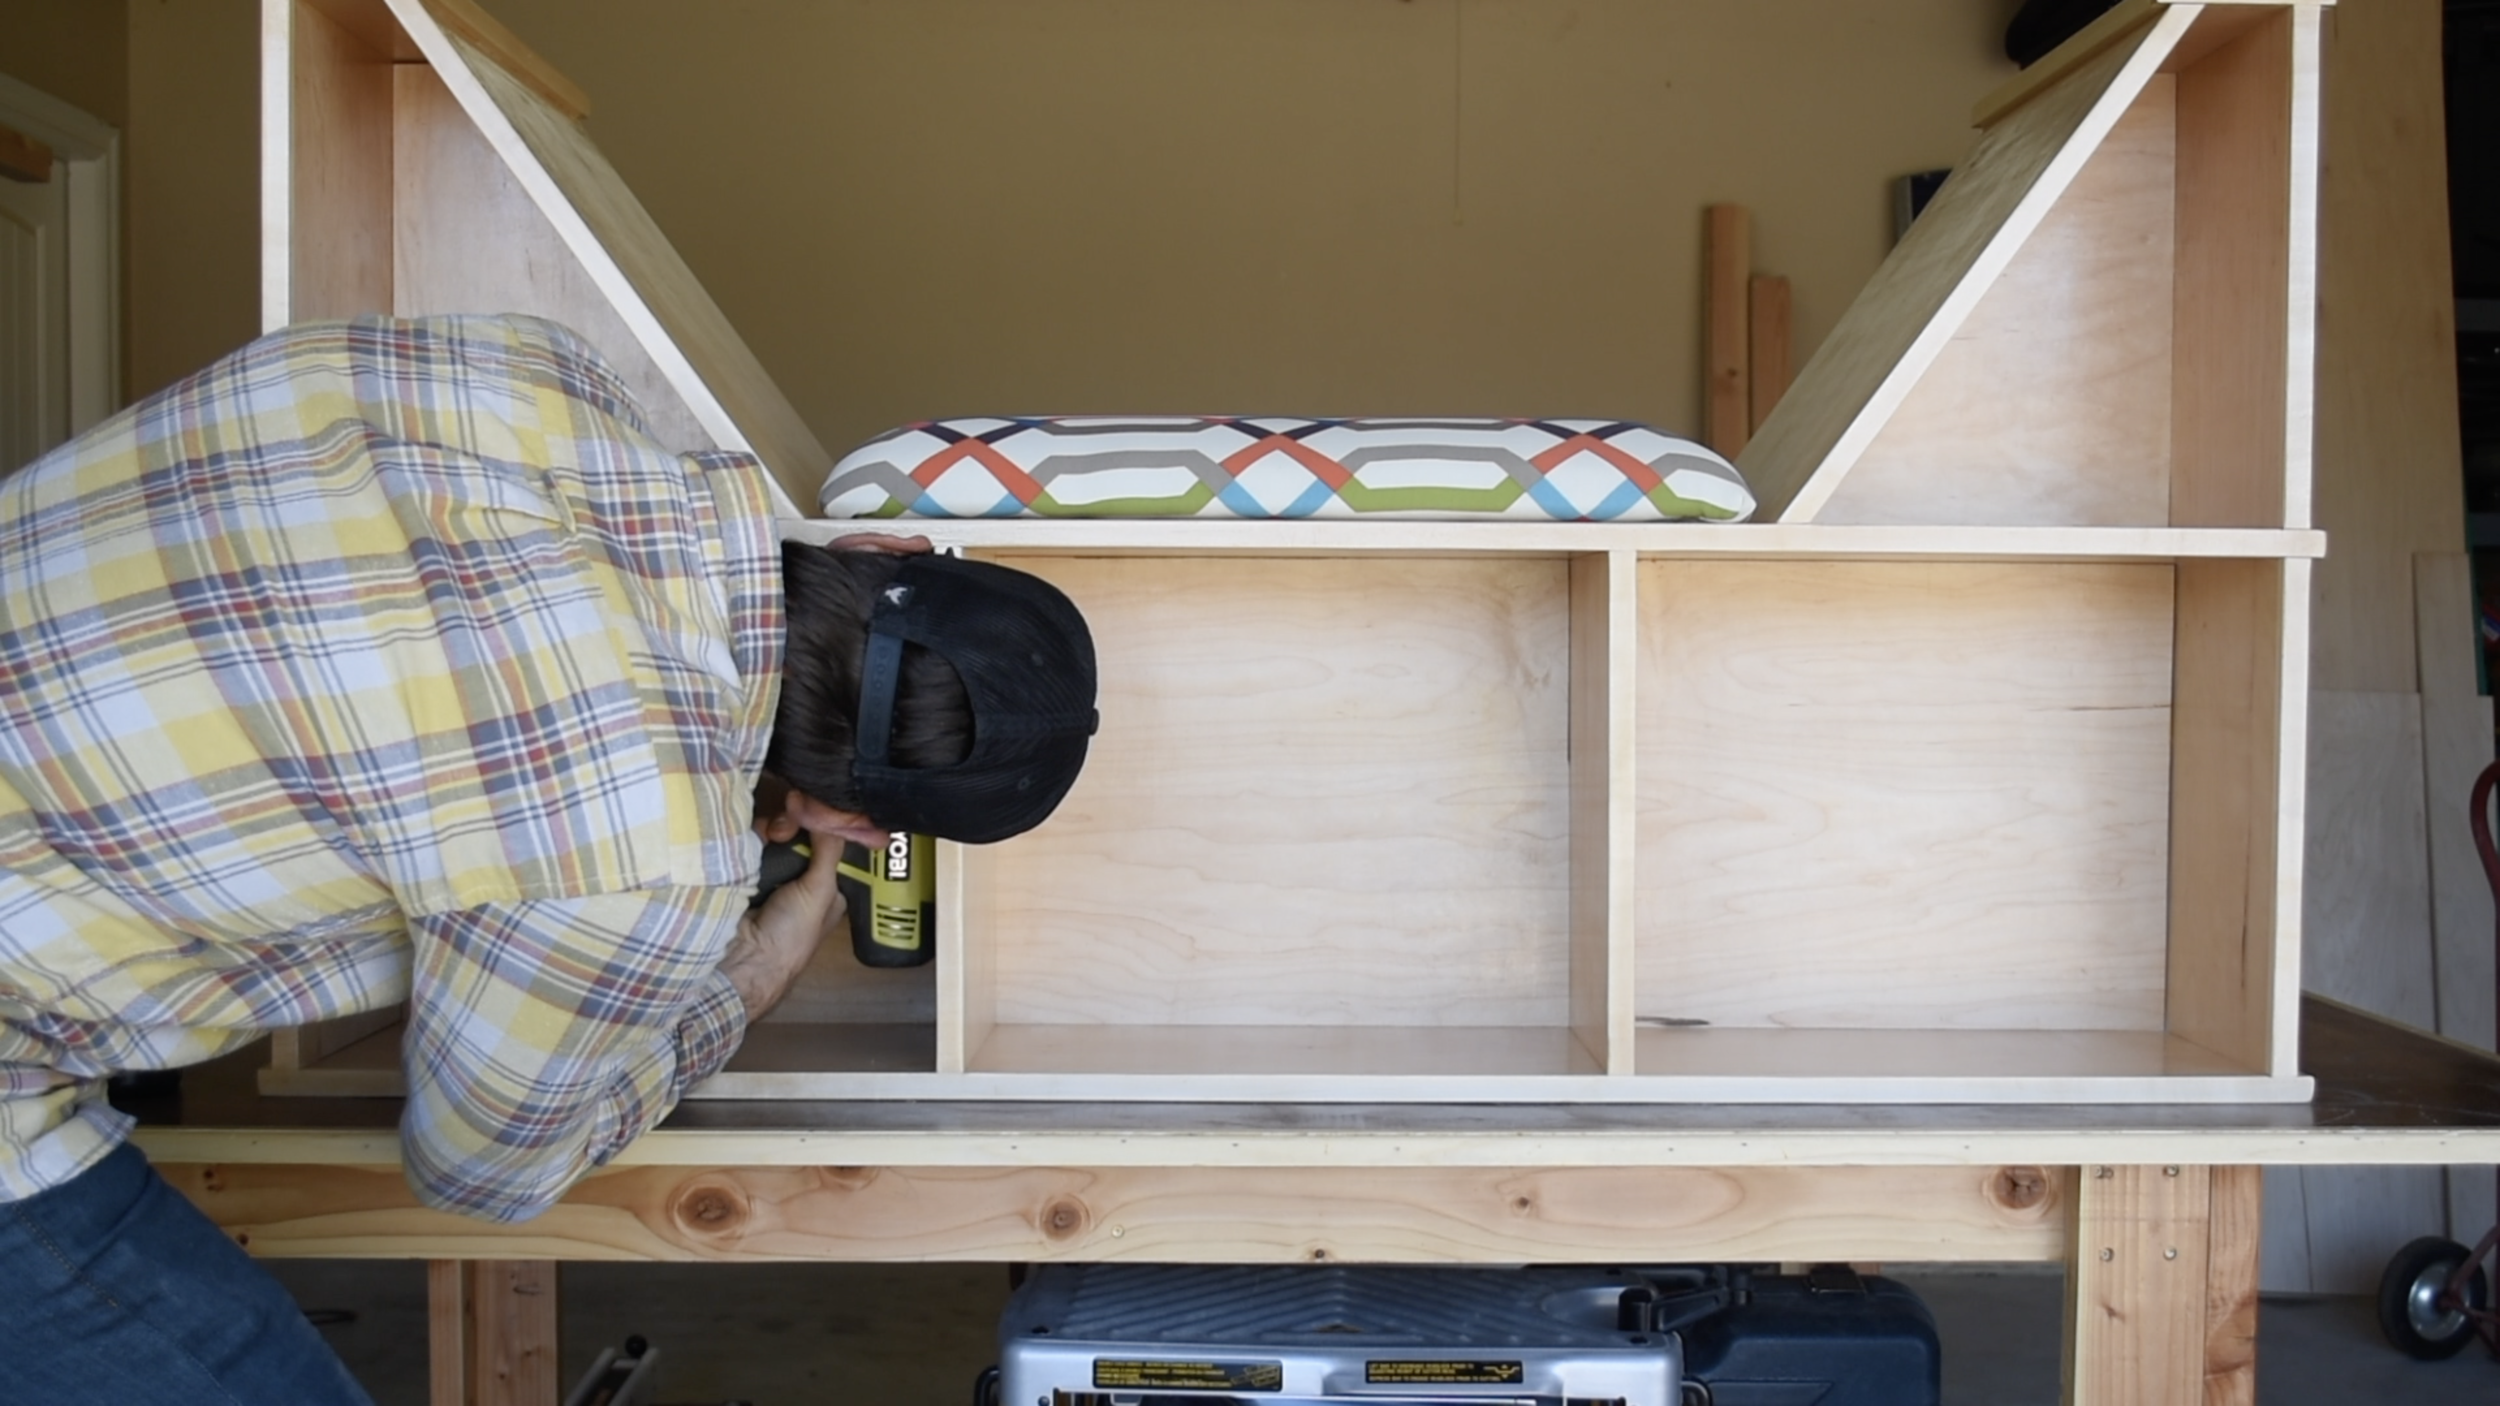
I attached the seat backs to the bench top piece. They sit flush with the outer edge.

I predrilled and added plenty of screws to ensure the seat backs are stable.

I assembled the center support with the two center dividers. I added the bench top assembly and then the two end boards. You can see here how all the pocket holes are on one side of the bench.

I drove in all the 1 1/4" pocket screws.

To complete the bench carcass I added the bottom board and attached with the remaining pocket screws.

I milled the 4/4 maple first running it over my jointer.

I cut the face frame pieces down into roughly 1/2" strips.

I measured and attached the face frame to the bench carcass.

I used masking tape to hold the face frame in place while the glue dries.

The face frame wraps around the side to cover all the visible plies. I measured and glued these pieces on, and I used CA glue to quickly set these pieces in place while the wood glue dries.

I flush cut all protruding face frame pieces.

I sanded the face frame and the rest of the bench up to 220 grit with my orbital sander.

To make the cushions I used spray adhesive to attach the cushions to 1/2 plywood boards that are cut to fit the bottom seat, and the two seat back uprights.

I used an electric knife to cut the foam flush with the plywood backer board. Notice also that I put a chamfer on the backer board to allow the batting and fabric to wrap around seamlessly.

I cut a chamfer on the cushions to give them a more rounded over look.

Next attach batting making sure to pull it tight around the cushion, and staple it to the back side. Do the exact same for the fabric. Work from the center out, and finish at the corners.

The whole bench was finished with 3 coats of shellac and a coat of paste wax.
I attached the cushions to the bench.

I attached 4 rubber feet to the bottom corners.

I cut a backer board to fit, and attached them with 5/8" brads.

Thanks for checking it out!