
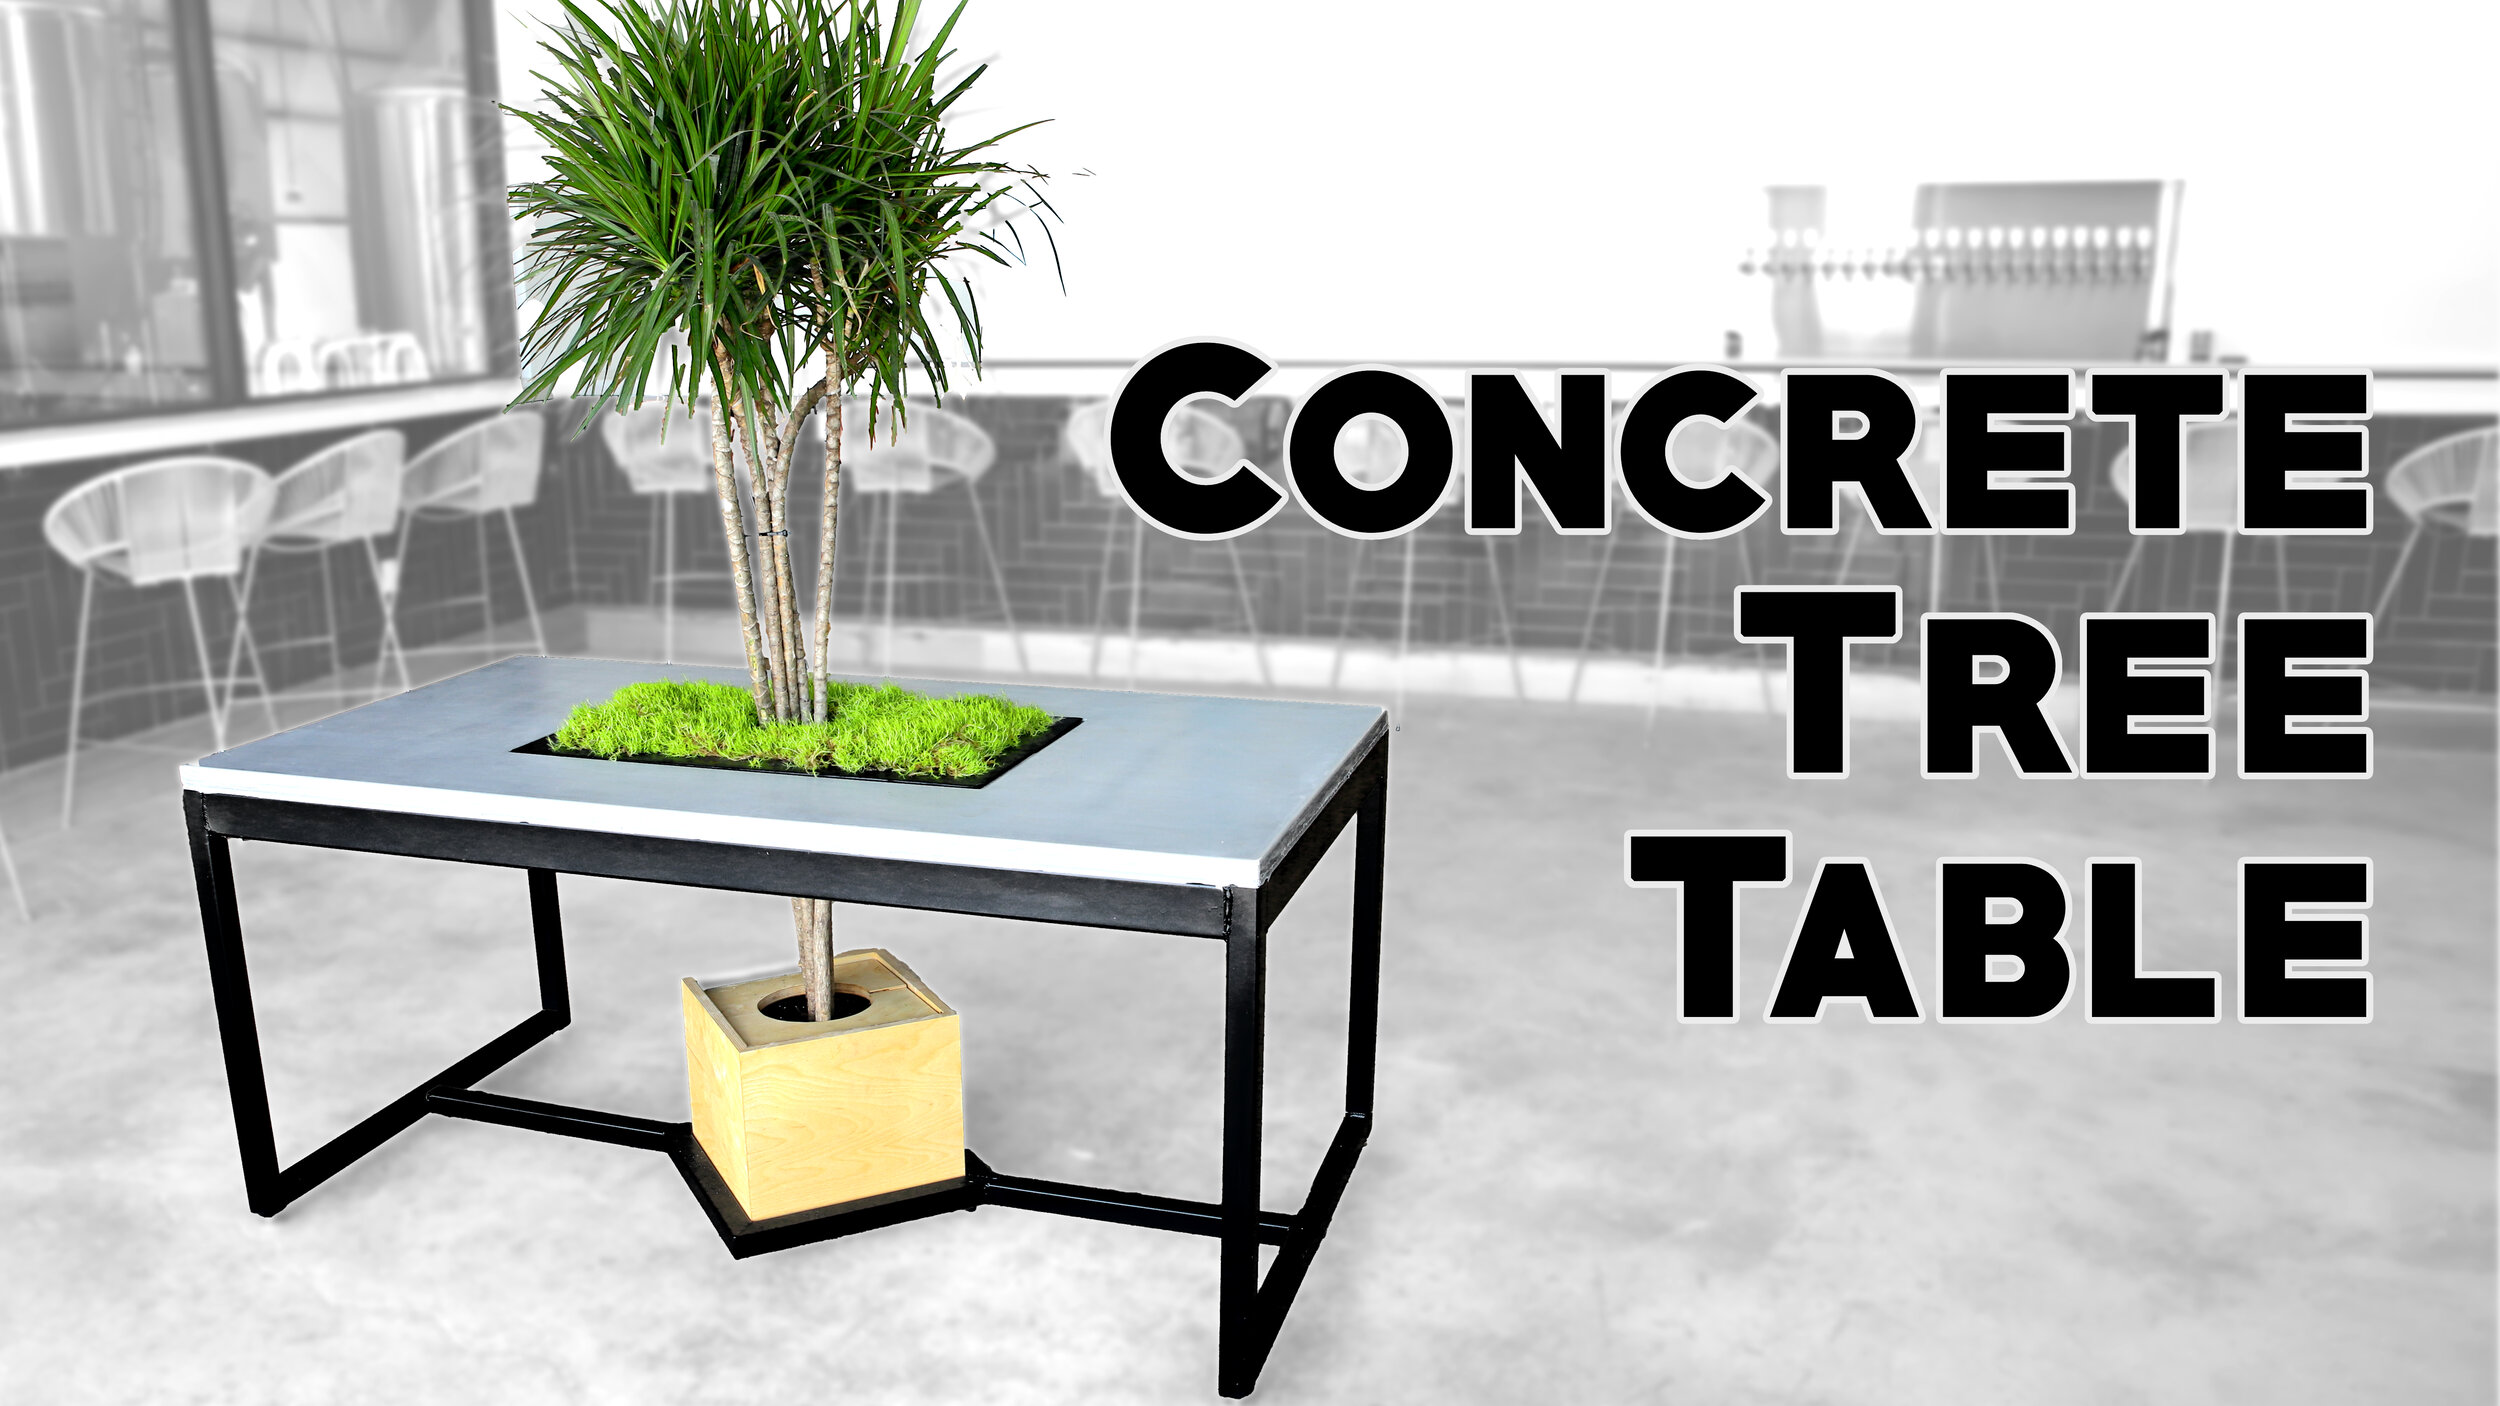
Concrete Living Tree Table
/
To get started I’ll build the concrete form using a 4x8 sheet of melamine…which moving it around the shop is a nice little workout
First up I’ll measure the length of my table top, and then cross cut the melamine to size.
I can cut the bottom of the form to its final width over on the table saw.
I’ll also cut a few strips an inch and three quarters tall to become the sides of the form.
To attach the sides I’ll first pre-drill my holes, and then attach them to sides of the form with screws.
The knockout for the planters that slot in around the tree is made from hard board and foam insulation and I attached the form to the hard board with some hot glue and sealed it all with some spray polycrylic
Next I used some silicone caulk to attach the knock out to the melamine form
To prep the form I first applied paste wax and then squeezed silicone caulk around the edges to both seal the form and give the table top a nice even round over.
And to get that round over I’ll use this little ball tool to push out the excess caulk and get those crisp lines.
Because of that paste wax the excess caulk comes right up when it dries, and I just need to clean the form with mineral spirits to prep it for the pour.
The concrete I’m using for this table is commonly referred to as glass fiber reinforced concrete or GFRC.
The fibers I used are polymer fibers, so I guess technically this isn’t gfrc, but just know this stuff is much stronger and lighter than the concrete you’ll buy at home depot or lowes.
I got this mix from Fishstone Concrete, and it’s their HP50 mix.
I mixed the ad mix and pigment to the water before combining the wet ingredients with the concrete
Last I add the fibers and continue mixing with the paddle mixer until I’ve got it to a smooth consistency
I poured this mixture into the form and began working it around all the edges and around that center knockout
I also used a mallet to vibrate the sides of the form and try to reduce any air pockets that could potentially show up in the final piece
I packed in the mix around the rest of the form then I mixed up and added in a second 50 lb bag of concrete
This whole table took 2 and a half bags and the finished concrete table top that’s 32 by 60 inches was about 150 pounds.
Now Thats not light, but had I used a more traditional concrete like quikrete this table would’ve easily been 400-500 pounds and impossible to move by myself.
After getting the bottom as even as I could I covered the pour with plastic to hold in moisture and slow the rate of curing which makes a stronger table top.
After about 24 hours I could de-mold the pour and find out exactly what my first big gfrc project is going to look like.
I’ll be honest…I was more than a little nervous I had screwed this up.
I used some shims to help pull the it up from the melamine and flipped the table over,
Next I removed the knock outs, and cleaned up any excess silicone left on the table top
I must say I was pleasantly surprised. It came out exactly how I was hoping, and the knock out for the tree matched my dimensioned drawings exactly
I wet sanded the table top with 400 grit sandpaper making sure not to be too aggressive and expose the fibers underneath and then moved on to applying this Fishstone 2 part concrete sealer.
Next up I could move on to the table base which I’m making out of steel tube.
The apron is made from this 3 by 1 1/2 inch rectangle tube steel and I cut out all 4 pieces I need for the short and long sides.
The legs, remaining cross supports, and table stretcher is made from 1 1/2 inch square tube.
After all my pieces are cut I took them over to the Ameribrade grinder to grind in perfect 90 degree ends using a little speed square as a guide.
I’m assembling the table base by first building the end frames made from these two legs pieces, the upper apron, and the lower stretcher.
I picked up a few welding clamping squares and they were instrumental in locking these parts together and not shifting during welding as metal likes to do.
I tacked up all four corners and made sure it was square before running full beads along the seams.
I made a second end frame before moving on to attaching to the long aprons
I set the end frames on the floor just using a few clamps to help the stand up.
Then I can use those clamping squares to support each end of the long side aprons before clamping it in place and making sure its all square.
The last part of the table base is that lower stretcher which again I’m using the 1 and a half inch square tube.
I cut the pieces to a rough 45 degree miter with an angle grinder, and then refined that 45 degree angle using the belt grinder and the 45 degree side of my speed square.
Anyone who’s tried to cut perfect miters with metal working tools can attest to how frustrating it can be to get angles that line up, and this by far is the best method I’ve tried.
The center of the lower stretcher is a square rotated 90 degrees so it meets the stretcher pieces on the angle.
With the square frame finished I need to notch out the mating pieces so they fit on the point of the angles.
Again I’m just rough cutting these with an angle grinder, and then using the belt grinder and a square to refine those 45’s
Then I just need to line it all up making sure the stretcher is straight across the length and weld it all together.
I intentionally waited to cut the lower stretcher to final length until I had the center square portion built since the final size could vary slightly from my original design.
This way I can just center up the lower stretcher along the width and length, and mark where I need to cut it to size while also marking the location where it meets the frame.
Once the ends are cut I can line it up with the marks I made earlier and weld the lower stretcher in place for good
Last I just need to add in two cross supports that support the table top.
I’m hired a friend to cut out the pieces for the middle planters on his plasma CNC and man I need to get one of these some day.
It made quick work of this task and back in my shop I could start welding the planters together piece by piece
First I’ll build out the internal structure of each planter just tack welding the pieces in place as I go.
Next I’ll weld on the pieces that frame the planters and creates that 2 inch steel lip that fits down into the 1/8th inch recess in the table top
Jumping quickly back to the table top I mixed up a slurry coat of concrete to fill some voids I had on the pour,
and this slurry is just concrete mixed up without any fibers and this gets rubbed into the voids by hand.
I one wheeled the table base outside so I could do a bit of grinding on the weld beads that will contact the table top.
I also prepped the whole base for paint using a wire wheel on my angle grinder
I did the same for the planters, but these needed some bondo filling after all that grinding to get a smooth surface before painting.
I applied bondo to the steel lip, and let it dry for a few hours and while we wait for it to dry I want to tell you about the sponsor of today’s video, and that’s squarespace
Once it was dry I could come back and sand it smooth.
Now I can take it outside and hit is with a few coats of this primer.
I did the same for the table base before remembering I still need to add the threaded end caps for the leveling feet.
I’m just making these using some bar stock and drilling holes for the leveling feet to slot through on the drill press.
Next I’m adding the nuts for the leveling feet using them to hold the nut in place while I tack welded it.
I made all four threaded end caps, and then cut them apart over on my bandsaw.
Last I can weld them in place on the bottom of the table legs.
Okay, back to painting I used this flat black spray paint and painted over the primer coats on the planters
Once I had three coats on the planters I sealed the inside with silicone caulk to prevent any water from leaking anytime those plants are watered.
I also gave the table base 3 coats of flat black spray paint before sealing with some spray lacquer
The last thing I need to build is the lower planter box which I’m making out of baltic birch plywood, and this will slot down inside the center square of the lower stretcher.
I cut strips of plywood to cut my sides from, but quickly realized I have yet to make a proper cross cut sled for my table saw.
Luckily I just got the sliding table extension for my sawstop, so I quickly assembled it on my saw and used it to cut those 45 degree miters on the 4 panels for the box.
I assembled the planter box with glue and blue tape to hold it all together.
I cut the bottom panel to fit inside the rabbet I cut and I made this so the panel would sit proud of the end causing the bottom of the planter to appear as if its floating.
Now I could add pea gravel to the planters for drainage before adding potting soil and this mossy grass called golden scotch moss.
The next day I brought the table to the brewery for the install, and I’m attaching the table top with some construction adhesive and then sealing the edge with silicone.
I added more pea gravel for drainage to the tree planter,
Placed the planter into the lower stretcher
Added the tree and then slotted the planters down in around it.
And now I could call this one done
I blown away with how cool this table turned out.
I’ve never seen anything quite like it, and I think it will be the table people gravitate towards in this taproom
I’m predicting a lot of selfies at this table in the future but Its too bad the taproom is closed during the pandemic
For now we’ll just have to imagine folks using it.
I’ll post some videos on my instagram once the taproom is open again.
And Until then, Cheers