
DIY Modern Sofa made using 2x4's | 3 Tool Project
/DIY Modern Sofa Made Using Only 2x4’s & 3 Tools


Pick out 16 of the straightest/cleanest 2x4’s you can find. Look for boards with no twists or bends, the fewest knot holes, and no gouges.

2. Go through the stack of boards and pick out the best edges and faces to show in the finished piece.

3. Before making cuts set your miter gauge to 15 degrees. You’ll leave it here for all but the rectangular spacer pieces.

You’ll need 9 of these trapezoidal shaped lower seat stretcher pieces.
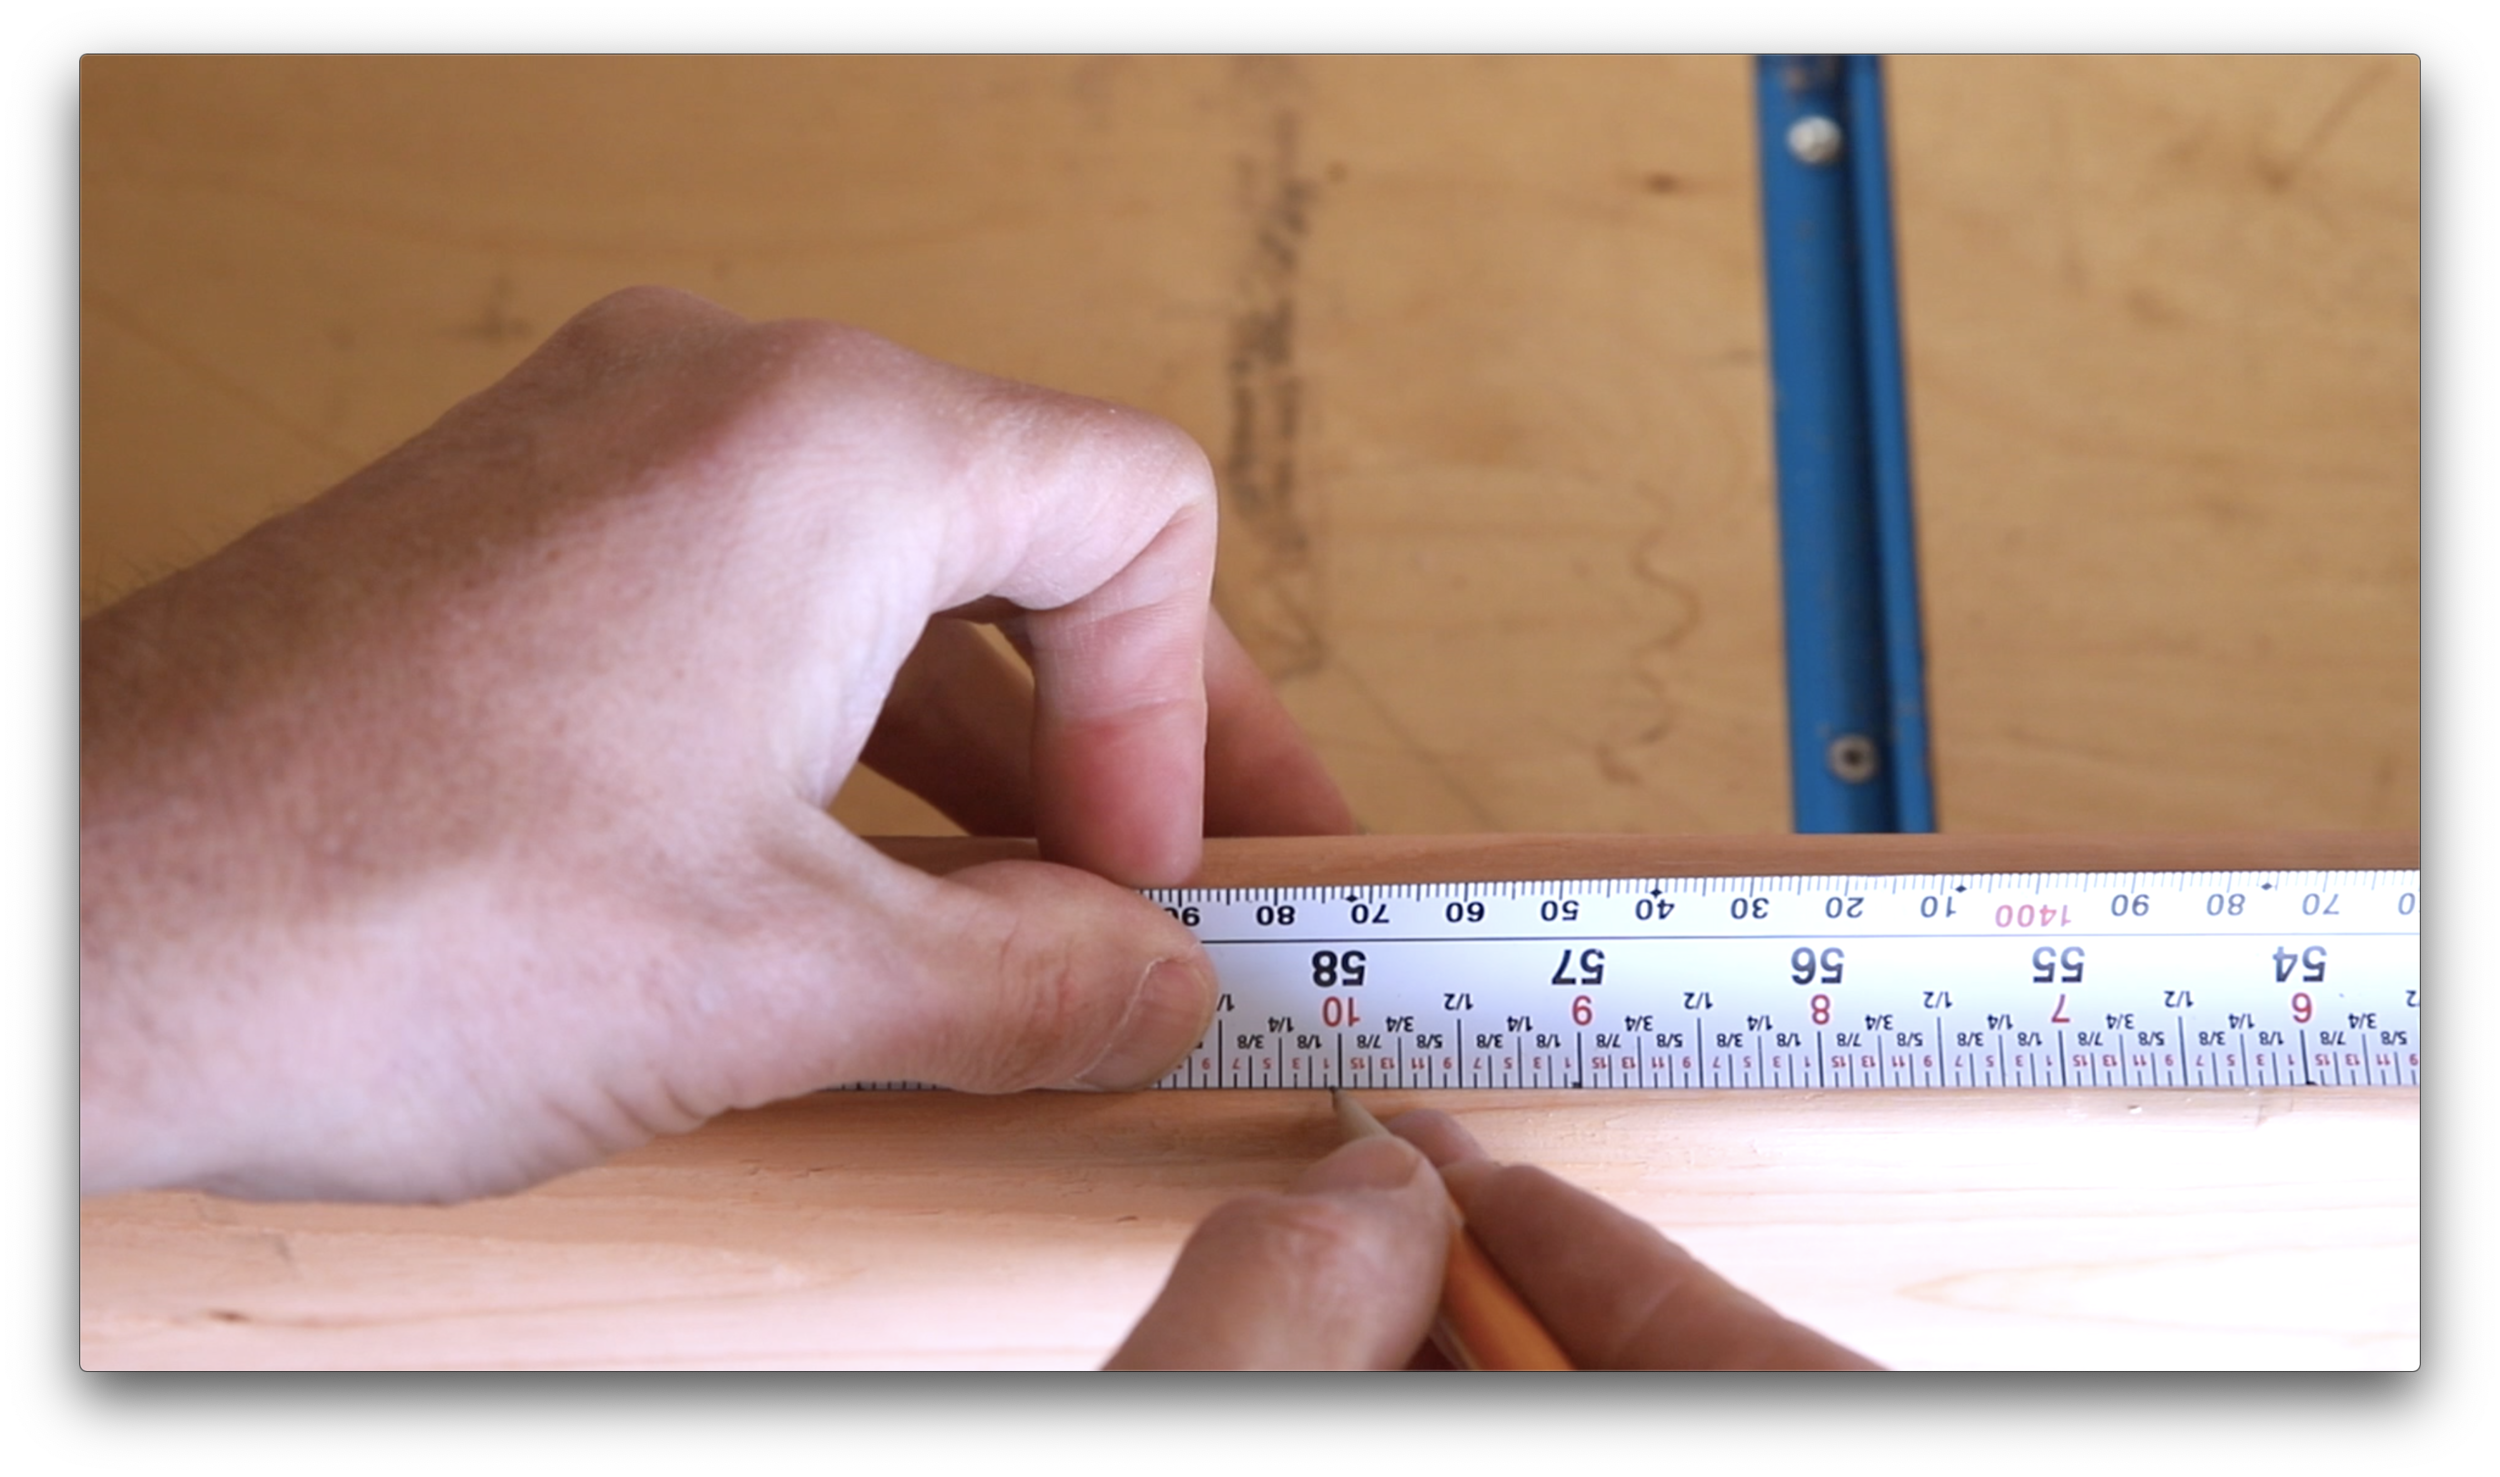
4. Cut one end at that 15 degree angle, and then measure out 58 inches from the widest edge of that cut. You can adjust the measurements to fit the couch size you need. This couch fits 25” x 25” cushions with room for a side cushion. 25” x 25” cushions are standard and easy to find.

5. Cut 9 seat stretchers. Note the trapezoidal shape meaning the angles both slope inward toward each other. This means you have to flip the board over to cut the opposite side. After cutting the first piece I used it as the template for marking the other 8, and then measuring against it after each cut. This left me with 9 evenly sized stretchers.


Next you’ll ned 20 of the leg/arm rest side supports. These are parallelogram shaped meaning the angles match on each end.

6. Set a stop block for the miter saw to the length of arm rest desired. I made mine 29 3/4” which was perfect for me, but I’m tall. I wouldn’t go shorter than 27”.

7. Cut 20 pieces using the stop block. No need to flip the board as the angle remains the same for each end. (Clamping a block to your workbench works well as a stop block.)

20 arm rest pieces done.

Next up you’ll need 16 of the upper arm rest spacers (parallelograms) and 8 of the lower seat spacers (rectangular).

8. I made a pencil mark on my miter saw at 4.5 inches to cut all of these spacers. First cut 16 of the parallelogram shaped arm rest spacers with that 15 degree angle. Move the miter gauge back to 0 degrees to make 90 degree cuts for the rectangular seat spacers using that same pencil mark. Cut 8 of these.


9. Sand all the pieces now as you won’t be able to get in all the tight spacers once this is assembled. I sanded first with 150 grit, and then with 220 grit.

10. Pre-finish all pieces before assemble. I’m using a natural danish oil, and I applied 2 coats with a foam brush. Pine can be splintery, so I don’t recommend applying with a rag.

Now it’s time to assemble this sofa. This process repeats layer by layer, so I’ll break down all the necessary steps first.

11. Starting with the arm rests I lined them up with the edge of my workbench to ensure they were square with the help of this off cut piece that has that same 15 degree angle. Do this for both ends and using a seat stretcher to set the distance.

12. Using the arm rest spacers as a template to set the height of the seat stretcher pre-drill three holes and attach with 2” #8 screws. Getting the alignment correct on this first layer is super important as all remaining layer align off this first.

13. Next screw on the arm rest spacers aligning them with the top of the arm rests.

Note that as you build up each layer you need to alternate the pattern of the 3 screws at each connection like so. This prevents the screws from running into one another.

14. Add the center supporters to the middle of the seat stretchers. With that first layer complete repeat this whole process 9 more times. That last layer will end with the 2 arm rests as being the last pieces.

15. For that last layer you’ll need to hide the screws with 3/8ths inch dowels. This time pre-drill the holes with a 3/8ths inch drill bit.

16. Screw on the arm rests and plug the holes with the dowels and a db of wood glue. Using a flush trim saw cut away the excess and sand smooth. (You’ll have to reapply finish later)

17. The last two pieces needed are the back side stretchers. Cut a 15 degree angle on one end, and then hold board in place at the desired height. (mine were 8 inches above the seat) Mark the second side with a pencil and cut to fit.
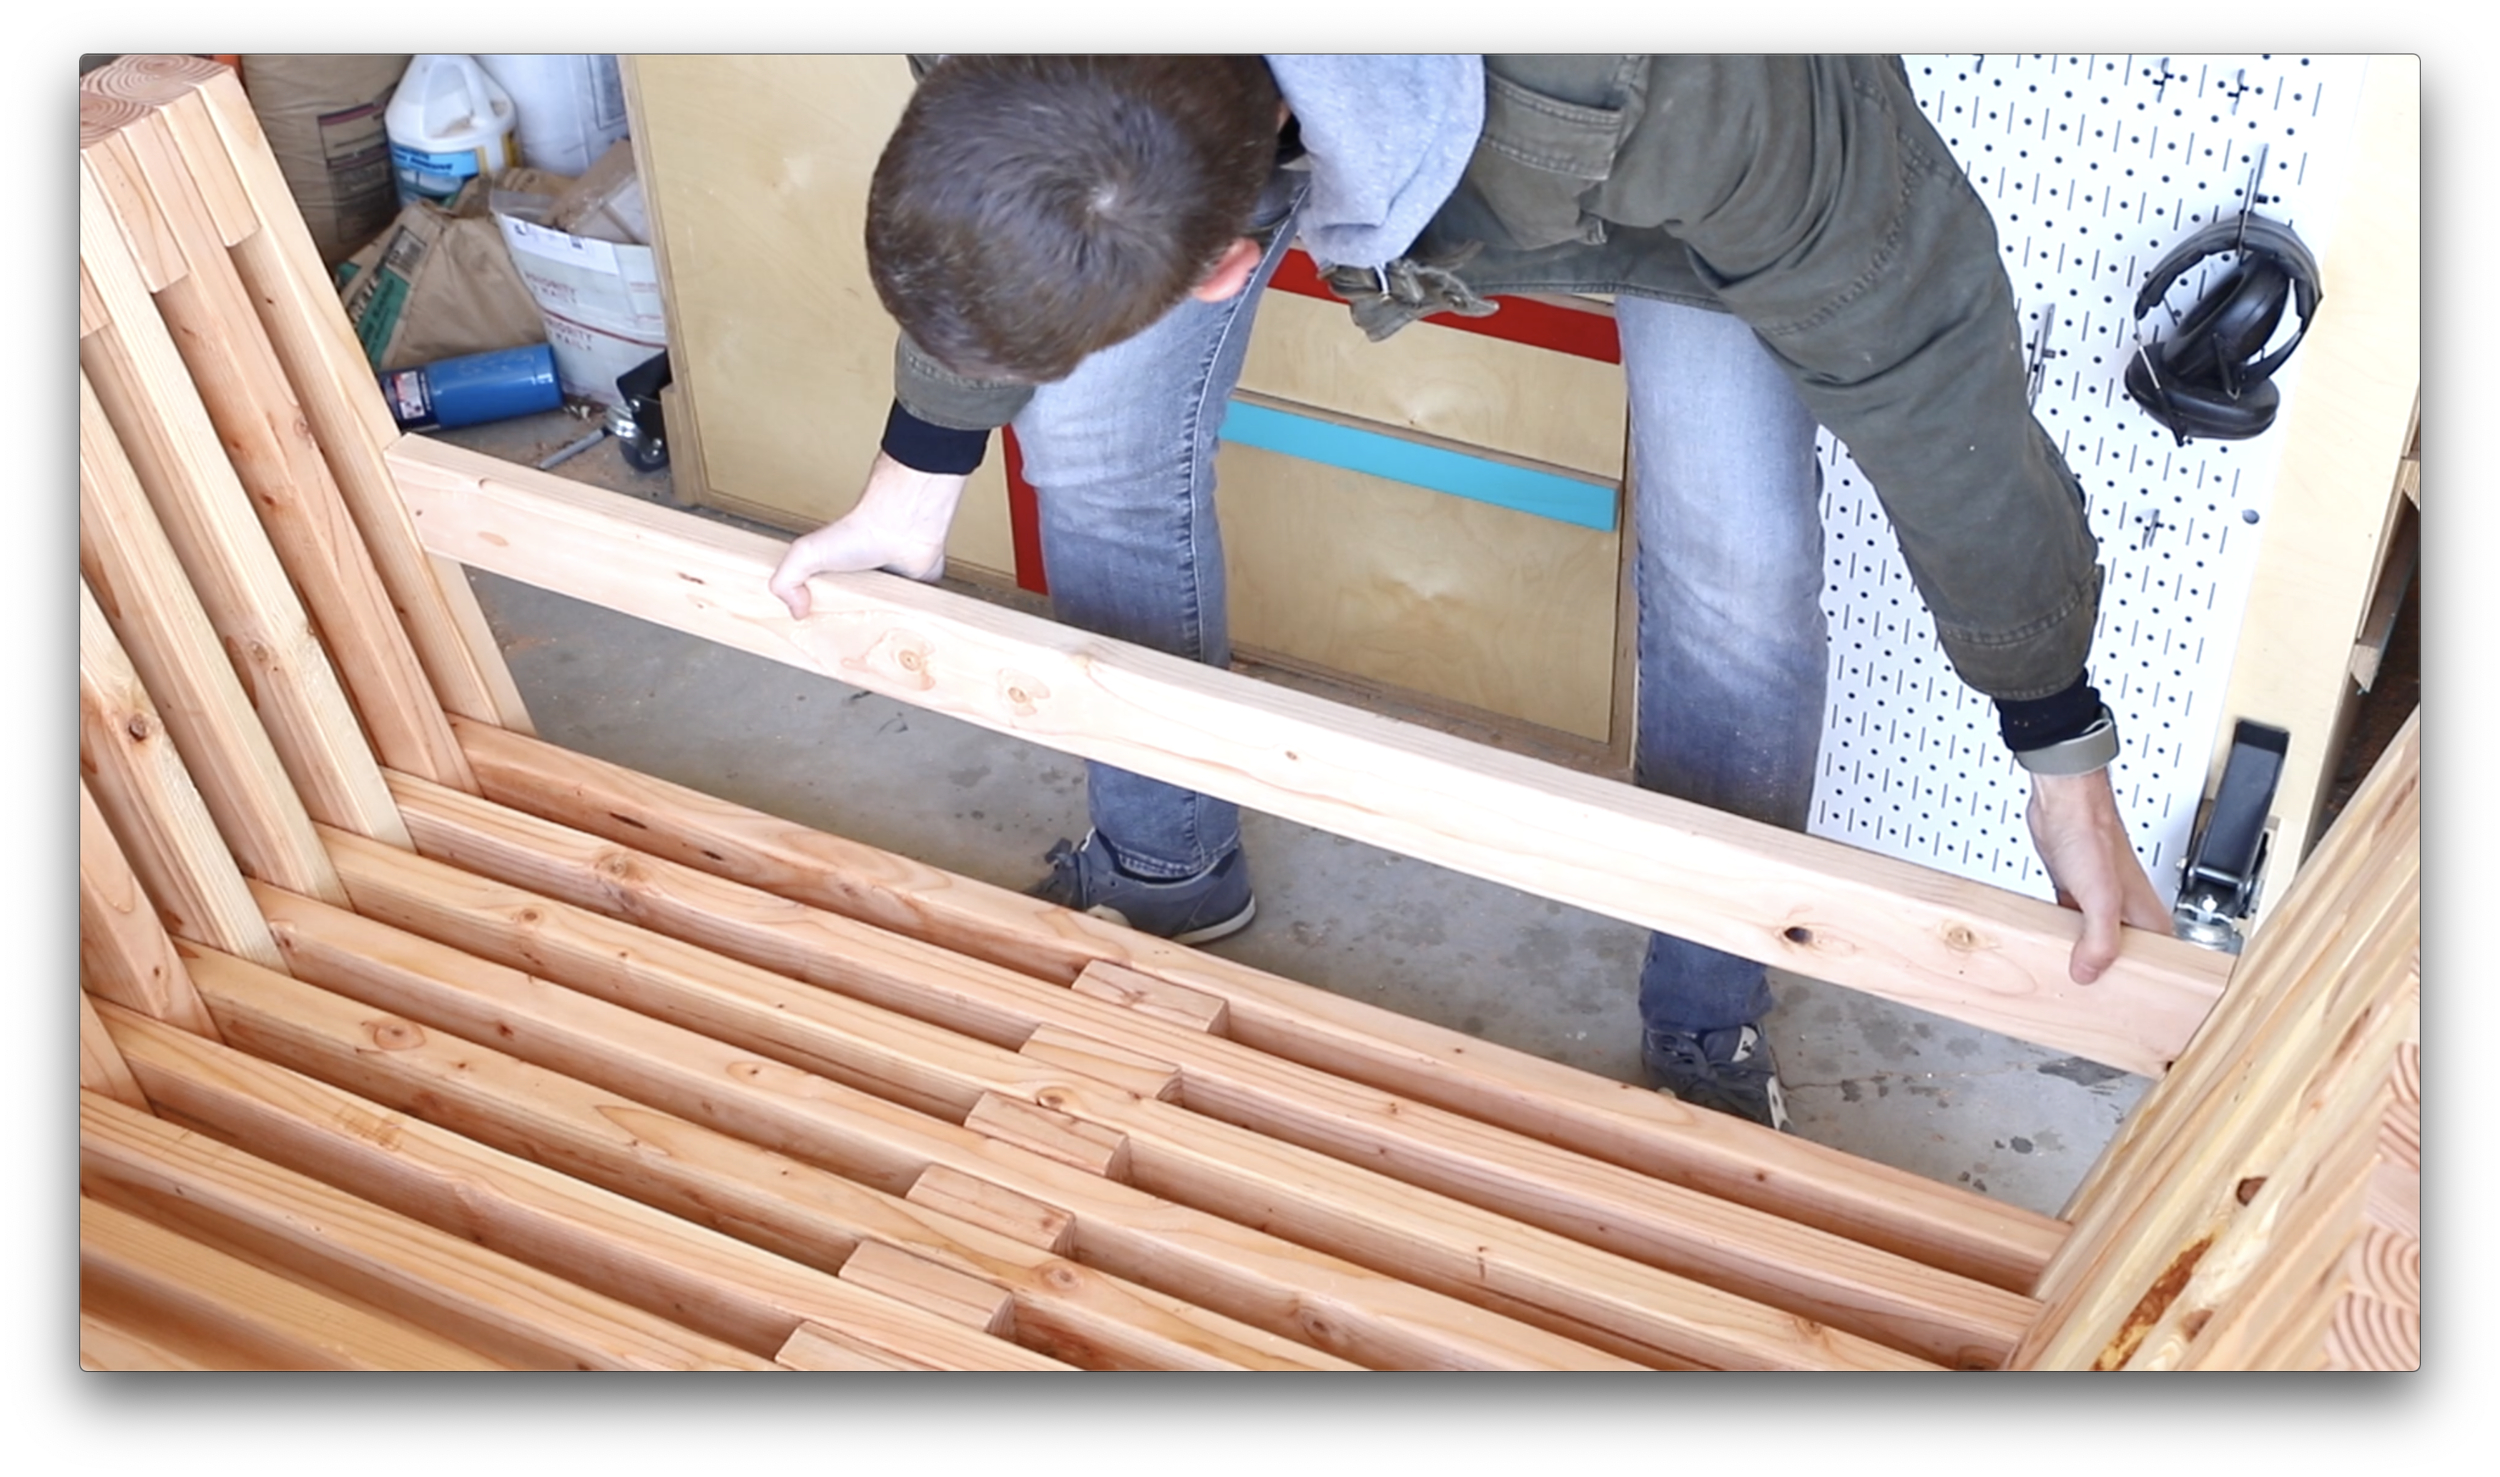

18. Repeat this process for the upper stretcher, but note it should sit flush with the tops of the arm rest.

19. To attach these back stretchers you’ll need to make what’s essentially a pocket hole using the 3/8ths inch bit. First drill 1/4” straight down an inch and a half in from the edge. Rotate the drill bit to about a 30 degree angle and drill an angled hole about 3/4 inch deep. Repeat this for the top and bottom of both ends of both boards. (8 total holes)

20. Attach the back stretchers with 8 screws, plug the holes with 3/8ths inch dowels, trim flush, and sand smooth.

Add cushions and you’re done! Follow and tag me on instagram if you build this sofa www.instagram.com/jonnybuilds Also make sure to subscribe to my YouTube channel Jonny Builds for more projects. Thanks for checking it out, and happy building!